Planks are an incredibly simple and cheap way to add texture to your flooring. You can build planks using a variety of different materials, including recycled wood, repurposed wood, or upcycled wood. This DIY guide will show you how to turn any salvaged lumber into ultimately reclaimed flooring planks!
What you need
-Wide planks -Ruler and pencil -Circular saw or table saw -Miter gauge and miter saw (optional) -Straight edge or steel straightedge-Cordless drill with screwdriver bit-Handsaw or jigsaw-Palm sander, fog mellan plankor, orbital sander, belt sander, polisher (optional)-Different grits of sandpaper: 60grit for roughing down the wood; 80grit for getting the surface ready for stain; 120grit for a smooth finish.
Which Tools do I Need
You will need a power saw and a dust collector, a cutting blade, and adhesive. Measure the size of your wooden floor-wide planks first and then cut them to size. Mix up the adhesive and apply it with a trowel or in layers with the foam roller. The following procedure will help you keep everything level so the wood glue is applied correctly. Starting at one end, line up the plank with one edge on a perfectly straight line (using something like a straight edge or knife). From there start applying adhesive. Leave about two inches uncovered before starting another plank so you can use clamps to secure it in place while that side dries completely. Use clamps from both sides so you don’t have any spaces showing gaps between where planks meet.

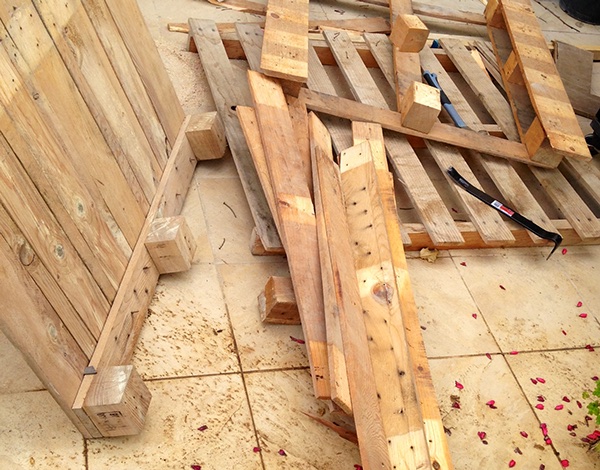
Removing Nails
To remove the nails from old wooden plankor and make them usable for your project, use a nail set. This can be a small tool that you may have at home or you can purchase one from a hardware store. Place the nail set on top of the nail head and strike it with a hammer until it’s flush with the surface of the plank. If there are protruding nails, try using an angled chisel to remove them. After all, the nails have been removed, sand down any rough edges that may be present.
Dealing with Splinters
If you are using reclaimed wood planks for your project, there is a chance that you will get splinters. If this happens, don’t panic. The best way to deal with a splinter is to pull it out as quickly and easily as possible, either by hand or tweezers. If the plank is small enough and the wood has not been sealed or coated in paint, use a pair of needle nose pliers.
In most cases, once the splinters have been removed they will stop hurting but if they continue to bother you, make sure that you are wearing gloves when handling the wood so that further splinters can’t get through your skin.
Finishing Your Plank Project
Have you ever wanted a plank in your wall, but not wanted to go through the hassle or expense of actually buying planks from the hardware store? Well now, you can use recycled wood as a substitute. For example, old floorboards could make for an excellent and unusual plank for a wall!
Make sure it is properly sanded so that it is ready for any kind of treatment, such as a polyurethane finish. The most important thing about this kind of project is that you buy planks with close enough widths and lengths to fit your desired spot. When cutting them down, remember that 1/8 should be added onto each side so that they will fit inside each other properly.
Read more: The Brightest LED Spotlight: The Sylvania Night Chaser